Founder’s Personal Security Checklist, Part 3: Endpoint Hardening

Intro
Part 1 covered identity (passwords, MFA). Part 2 covered the chains that bypass identity (phishing, SIM-swap, caller-ID spoofing). This part is about the device sitting on your desk - and the data it carries.
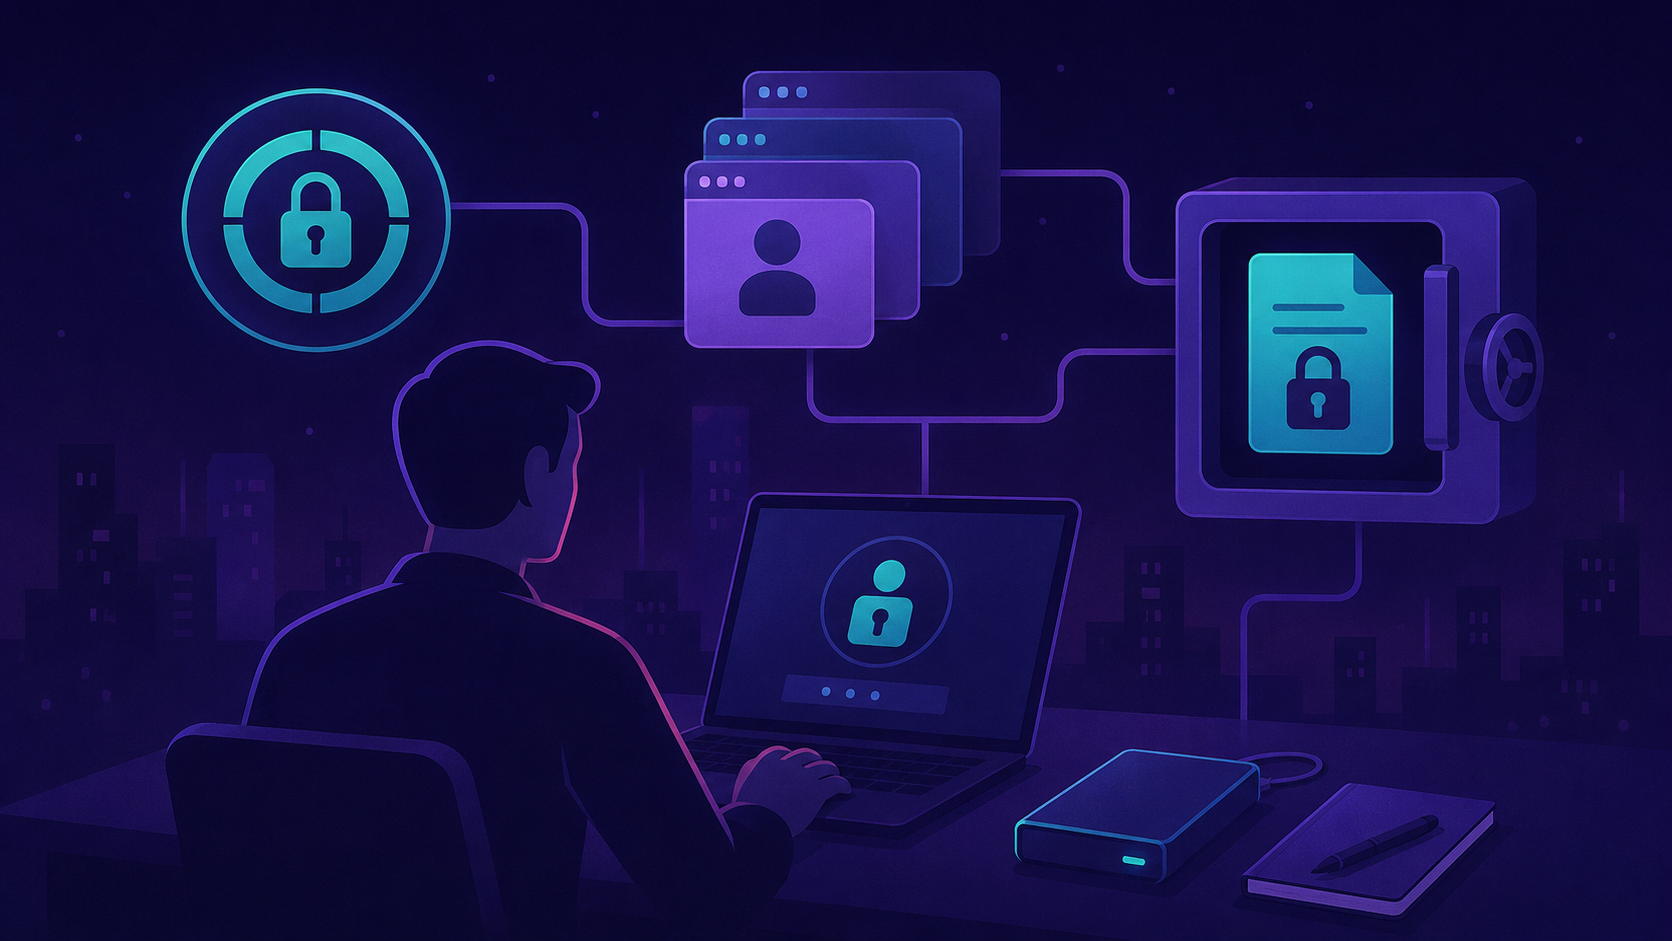
Physical access is the next thing that stands in line with the SIM swaps and phishing: lost laptops, stolen phones, malicious USB drops, hijacked browser extensions, supply-chain attacks, accidental screenshots of secrets. Give them one minute with an unlocked, unencrypted laptop and your entire founder life is gone: signed-in email and SaaS dashboards, an unlocked password manager, GitHub credentials - and, if you’re in Web3, every hot wallet on the device.
This part covers three practical layers:
- Disk encryption - what’s enabled by default isn’t always enough, and your backups matter too.
- Browser hardening - most of your high-stakes work happens in a browser tab; treat it like infrastructure.
- Secure note-taking - where seed phrases, recovery codes, and personal data quietly leak.
1. Disk encryption
1.1 Why it matters
A modern laptop is a session container. Open it, type a fingerprint, and you have logged-in access to:
- Email and calendar
- Password manager (often unlocked for hours)
- Code repositories
- Cloud admin consoles (AWS, GCP, Vercel, etc.)
- Web3 wallets and signing tools
- Documents that aren’t supposed to leave the device
Lose the laptop without disk encryption, and the next person to find it has all of the above. With proper encryption and hardening, they get a brick that needs your password to be useful - and modern brute-forcing against a strong password backed by a hardware security chip is impractical even for well-resourced attackers.
1.2 Encryption, boot, and lock
Terminology first: “encryption” in marketing copy often means “files at rest are encrypted on disk.” That’s not what you need. You need full-disk encryption - every sector, including swap and the system partition.
Underneath that sits a hardware root of trust: TPM on Windows, Secure Enclave on Apple Silicon. The OS stores encryption keys there and releases them only when boot conditions are met - without the chip, the keys are useless to a thief. Secure Boot complements this by allowing only signed bootloaders to run, blocking “evil maid” attacks where someone with physical access boots a modified OS to grab credentials at runtime. Both default to on for modern hardware, but should be explicitly verified - disabled Secure Boot or software-only encryption defeats the whole stack.
MacOS (FileVault), Windows (BitLocker), and Linux (LUKS) all ship usable full-disk encryption, but defaults vary by platform. How to confirm it’s actually on - and that the hardware root is doing its job:
- MacOS (FileVault): enabled by default on Macs with Apple Silicon, but verify under System Settings → Privacy & Security → FileVault. Secure Boot and Secure Enclave are baked in and can’t be disabled - no separate check needed.
- Windows (BitLocker): only available on Pro, Enterprise, or Education editions. Home edition has “Device Encryption,” which is weaker and less configurable. If your daily laptop runs Windows Home - upgrade or switch. Confirm BitLocker is on and configured to use the TPM (not software-only mode). In BIOS/UEFI, verify Secure Boot is set to Enabled.
- Linux (LUKS): not enabled by default on most distros. On Ubuntu/Fedora/Debian, you’d have selected “Encrypt the new installation for security” during install. Check with
sudo cryptsetup status /dev/mapper/root(path varies). Confirm Secure Boot state withmokutil --sb-state. LUKS+TPM2 sealing (binding the disk key to TPM state) is opt-in but worth configuring on supported hardware.
Beyond just having full-disk encryption on, four settings matter:
- A PIN or passphrase at boot or after cold start - not just at the lock screen. TPM-only BitLocker is bypassable by an attacker with physical access; require a pre-boot PIN. FileVault and LUKS enforce this by default.
- A strong, unique login password - not the same one you use for your home Wi-Fi, and not “Qwerty123!”.
- The recovery key stored offline - the same way you store MFA backup codes. Not in a screenshot, not in iCloud Notes, not in the password manager whose vault lives on the same machine.
- Short auto-lock (1–5 minutes) that requires the password, not just a fingerprint after wake. Biometrics are a convenience layer, not a primary factor for cold-boot or coercion scenarios.
NB! Cloud-escrowed recovery keys (iCloud, Microsoft account) are convenient and acceptable for most founders - but an attacker who compromises your Apple or Microsoft account can pull them. A valid court order can do the same. If that’s in your threat model, decline cloud escrow and keep the recovery key offline only.
1.3 User account separation
Two account-level habits that prevent casual compromise from becoming founder compromise:
- Your daily-driver account is not a local admin. Create a separate admin account with a different password, and use it only for installs and system changes. Most malware and browser exploits need privilege elevation to do real damage; if your daily account can’t grant it without a fresh password prompt, half the routine attacks fail at the threshold.
- MacOS: System Settings → Users & Groups → add an admin user, then demote your daily user to “Standard.”
- Windows: Settings → Accounts → Family & other users → change account type from Administrator to Standard.
- Never hand your work device to family members. A family member can be tricked into entering your PIN or password, or tapping through a confirmation prompt - we’ve seen exactly this scenario play out with a founder’s child.
Privilege separation isn’t a substitute for encryption, backups, or browser hygiene - it’s an extra layer that catches the casual mistakes. The cost is one extra password prompt per install. The benefit is that “I clicked the wrong thing” stays contained to your daily account, without admin rights to install persistence.
1.4 Encrypt your backups
Founders often encrypt the laptop and forget the Time Machine drive, the NAS volume, or the external SSD sitting in the desk drawer. An attacker who steals a backup drive gets the same data as a stolen laptop. Encrypt every backup target:
- MacOS Time Machine: when adding a Backup Disk, check “Encrypt Backups” - it’s a single click that’s easy to miss.
- Synology / QNAP NAS: enable AES-256 encryption on the shared volume, not just the user account. Account-level controls don’t help if someone walks out with the physical disk.
- External SSDs: use VeraCrypt (cross-platform) or a FileVault-encrypted DMG (macOS) for the contents.
Auditing the baseline across a founder’s personal devices - disk encryption, account separation, backup hygiene, recovery-key storage - is what our Personal Cybersecurity engagement covers, end-to-end.
2. Browser hardening
For most founders, 80% of the working day happens in one browser. Email, banking, AWS console, Stripe, Notion, GitHub, the cap-table tool, the wallet extension - all in open tabs, all signed in. Treating a browser as just an app misses what it actually is: infrastructure that holds your authenticated sessions and deserves the same hygiene as your production environment. Compromise the browser, and you compromise everything that matters.
2.1 Profile separation
Use separate browser profiles for distinct risk domains. Every modern browser supports unlimited profiles, each with its own cookies, extensions, history, password storage, and signed-in accounts.
Minimum baseline: two profiles - “work” and “everything else.” Add a third for Web3 if you use wallet extensions - never put MetaMask in the same profile as your investor email.
For Web3 founders running real balances, the same logic extends further. The standard split is five profiles, with cold and hot wallets always separated:
- Cold signing (treasury) - hardware wallet UI (Ledger Live, Trezor Suite) and multi-sig coordination (Safe, Squads) only. No extensions other than the wallet bridge. No email, no general browsing. Used rarely; treat each session as a security-sensitive event.
- Hot wallet (operational) - daily-driver wallet extension (MetaMask, Rabby) for gas, low-value swaps, trusted DEX interactions, and Etherscan lookups. Funded with what you can afford to lose to a single compromise.
- Work admin - cloud consoles, GitHub/GitLab, registrar, password manager, work email, CEX admin. No wallet extension here.
- Community / social - Twitter/X, Discord, Telegram, Farcaster. Phishing-heavy territory: fake airdrops, fake support DMs, malicious bot links. Never the same profile as any wallet.
- DeFi research / throwaway - connecting your hot wallet to new protocols for evaluation, opening random links, downloading unknown PDFs, new SaaS trials. The “burn profile” - accepts known risk for exploration.
The non-negotiable rule: cold signing never shares a profile with anything else. Even if you collapse the other four down for simplicity, that one stays isolated.
For the strictest setups, the same logic extends to the browser itself: cold signing lives in a different browser, not just a different profile. Profiles inside Chrome still share the same rendering engine and auto-update channel - a Chromium zero-day hits all of them at once. A separate browser doesn’t.
This isn’t only about you. Anyone on your team with access to sensitive data - finance, legal, cap-table tooling, customer PII, signing keys - should follow the same rule: a dedicated browser for that work, kept clean of extensions and unrelated sessions.
If your DeFi research or Community profile picks up a malicious extension, your Cold signing sessions are in a different cookie jar. Compromise stays contained.
2.2 Settings, by impact
- Hardware passkey or password manager autofill for every credential. No browser-saved passwords. (Covered in Part 1; it lives here in practice.)
- Block third-party cookies by default, allow per-site only where genuinely needed.
- Enable HTTPS-only mode. Both Chrome and Firefox expose it as a single toggle in Settings → Privacy & Security. Brave and Safari have it on by default.
- Disable autofill for cards and addresses in the browser. Use the password manager for cards instead; it asks before filling.
- Disable “open downloads automatically” and enable “ask where to save each file.” Auto-running downloads remain a real foothold when the setting is wrong.
- Turn on DNS-over-HTTPS (Cloudflare 1.1.1.1, NextDNS, or your own resolver). Coffee-shop DNS hijacks happen routinely - the next part of this series covers the full network-level picture for travel.
- For wallet profiles only: disable browser sync, disable every extension not strictly required for that session, and treat the profile like a single-use envelope.
NB! Browser sync is one of the highest-leverage targets attackers go after. If your Google or Firefox account is breached, every machine signed in to that sync profile becomes a foothold. Treat the sync account password and MFA at the same tier as your primary email.
2.3 Extension hygiene
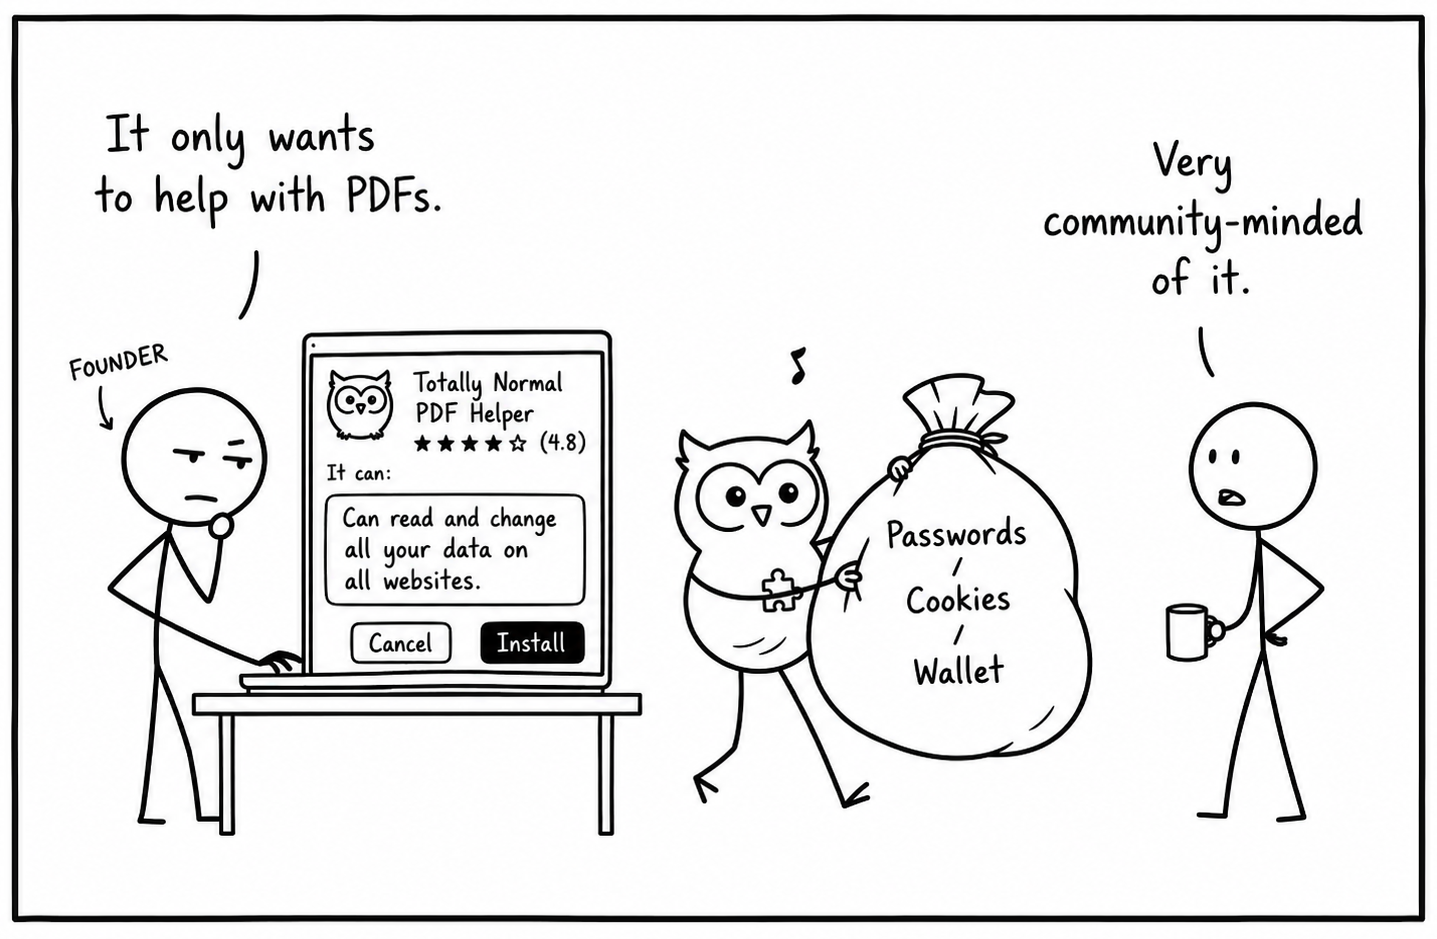
Every browser extension can read everything on the pages you visit. Treat permissions like mobile app permissions: “read and change all your data on all websites” is a kill switch in someone else’s hands.
- Audit quarterly. Open
chrome://extensionsorabout:addonsand remove anything you don’t use weekly. Verify publishers on what remains. - Read permissions before installing. Sweeping grants are sometimes necessary (password manager) but often aren’t.
- Prefer official sources. For MetaMask, 1Password - install directly from the publisher’s site, not from a search result.
- Pin only what you use daily. An unpinned, unused extension is an unattended backdoor.
- Content-reading extensions are data exporters by design. Grammarly, AI writing assistants, browser-based translators - they read what you type and ship it to their servers for analysis. That’s their core function, not a misuse. The relevant question isn’t whether the extension is “safe” but whether you want investor updates, M&A discussions, or HR notes processed on a third party’s infrastructure. Bake this into your threat model before installing, and never run such extensions in your work-admin or wallet profiles.
NB! In 2024–2025 there were documented cases where popular extensions were sold to new owners, updated with malicious code, and silently auto-updated for millions of users. This isn’t a rare edge case - it’s a working vector.
 Original illustration for DualForce Security.
2.4 Picking your browser
Once you commit to multiple browsers, the question is which one fits which profile. There’s no single “best” browser for a founder - the trade-offs:
- Chrome - best site compatibility, rapid security updates, broadest extension ecosystem (including most wallets). Most data sharing with Google. Best fit for Work admin and Hot wallet profiles.
- Firefox - open source, strong privacy defaults, Multi-Account Containers for site isolation, independent rendering engine. Weakest local protection of stored data: saved logins and cookies are easier to lift off disk than in Chrome/Brave/Safari, which rely on OS-level credential stores (Keychain, DPAPI, libsecret). Best fit for the Community / social profile - where you shouldn’t be saving sensitive credentials anyway.
- Brave - Chromium-based with built-in tracker/ad blocking and aggressive fingerprinting protection. Good fit for DeFi research / throwaway. Can also serve as a same-device cold-signing browser when a dedicated air-gapped machine isn’t an option - kept clean of extensions and history.
- Safari - fine on Mac for low-stakes browsing; weaker extension ecosystem makes it a poor primary for founders. Cross-device sync is convenient but creates a single point of failure - when the Apple ID is compromised, every machine on the sync is compromised.
Avoid Edge as a primary browser unless your organization mandates it - heavy Microsoft account binding makes profile separation messy and pollutes the “work / personal” boundary.
Browser and endpoint policy across your team - which extensions are allowed, how profiles map to which work, what counts as a “trusted source” for installs - is part of what our OpSec Audit maps and hardens, alongside the human-process gaps from Part 2.
3. Notes and secrets at rest
3.1 Common leak points
The pattern: someone needs to “just write this down for a second” - an API key during onboarding, a recovery code while setting up a new device, a seed phrase between two laptops, a bank wire reference. The note lands in:
- Cloud-synced notes apps (iCloud Notes, Apple Notes, Google Keep, the default Notes app on your phone) - synced, cloud-readable, recoverable from any signed-in device. Easy to read over your shoulder at a café. Unless you’ve explicitly enabled Advanced Data Protection (most users haven’t), Apple and Google can read them too.
- “To-self” messages on Slack and Telegram - Slack DMs are fully readable by Slack, your workspace admin, and anyone who breaches either. Telegram Saved Messages aren’t end-to-end encrypted - Telegram’s servers see everything.
- Email drafts - “just for a minute, I’ll move it later” - three years later, still there.
- Screenshots in your Camera Roll - auto-synced to one or two clouds before you’ve finished closing the app.
Each of these outlives the moment it was created for. The recovery code is still there six months later, when an attacker finally gets into the email.
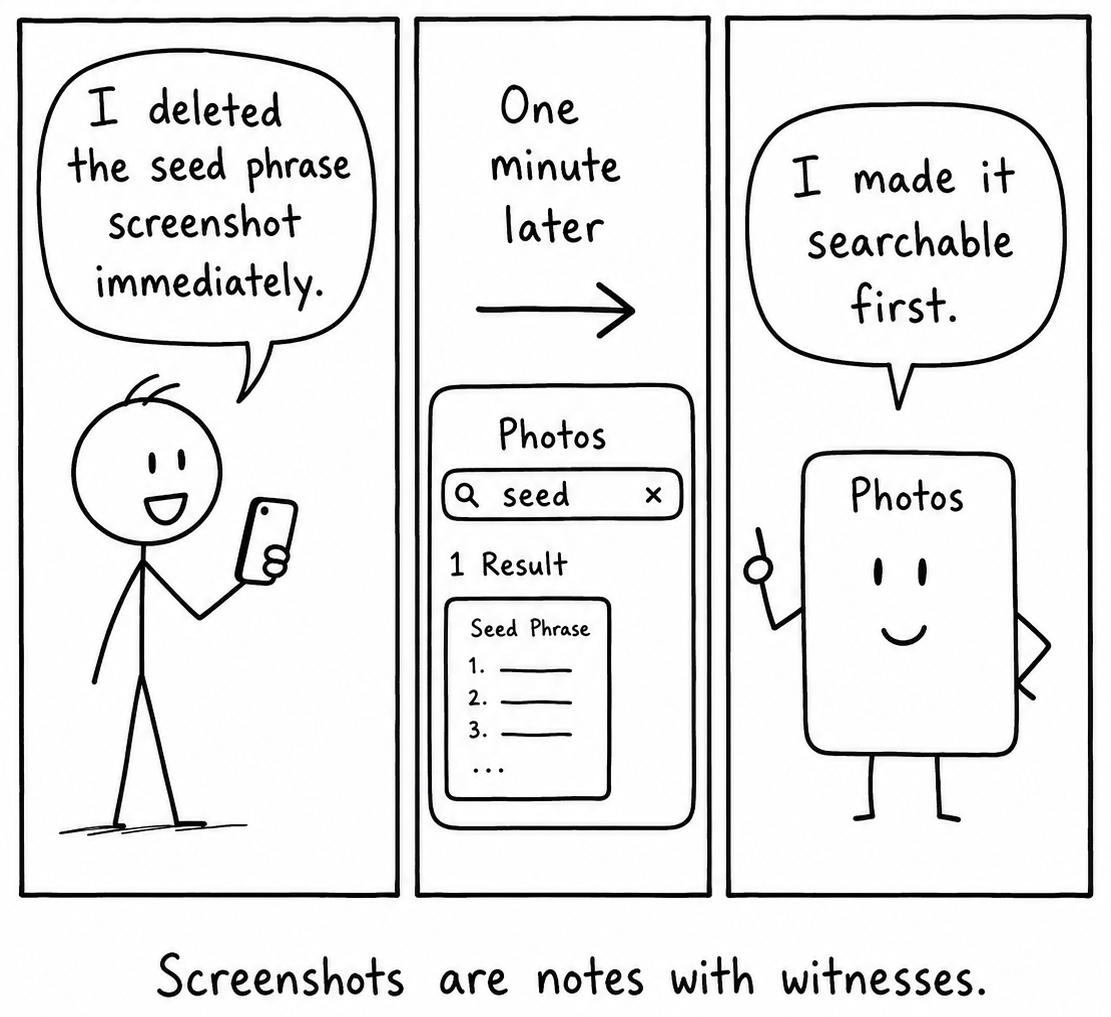
NB! Modern Apple and Google photo apps automatically OCR every screenshot and image. MacOS Live Text (Monterey+) and iOS Photos index visible text - search Apple Photos for “password” or “seed” and you’ll likely find matches in images you never intended to be searchable. Worse: even after you “delete right after,” the OCR-indexed text may persist in iCloud backups for months. Never screenshot a seed phrase, password, or recovery code. Not even for a second. Same applies to Google Photos on Android.
 Original illustration for DualForce Security.
3.2 What to write down - and where
- Don’t write it down by default. If it’s a one-time code, use it and discard. Most “let me just save this” moments don’t need persistence.
- For secrets that must persist - use the password manager’s encrypted notes, not a notes app. 1Password, Bitwarden, and KeePass all support arbitrary secure notes (server access details, recovery codes, API keys that aren’t seed phrases).
- For the password manager’s own recovery items (master password hint, emergency kit, account recovery code) - paper, in a safe or safe-deposit box. Not the same drawer as the laptop, and definitely not inside the password manager whose vault lives on that laptop.
- For team-shared secrets - a dedicated team vault, not a shared Google Doc, not a pinned Slack message. Rotate after any team departure.
- For private journals, drafts, research notes that don’t fit a password manager - use Standard Notes or Joplin with end-to-end encryption enabled. Open source, sync-capable, designed for this purpose.
3.3 Seed phrases and recovery codes
For Web3 founders this is the highest-stakes section in the entire series. Treat seed phrases and master MFA backup codes with the same paranoia as a paper bearer bond.
- Never type a seed phrase into anything that touches the internet. No iCloud Notes. No password manager. No photo. The phrase exists on paper or metal, and only there.
- Two complete copies, against loss. A house fire is a more common adversary than a thief. Keep two full backups far enough apart that a single disaster can’t take both - home safe + bank safety-deposit box, or two trusted family locations in different cities. Loss of one still leaves you whole.
- Default to a two-part metal backup like Ngrave Graphene, against theft. A perforated plate plus a separate decoder, where neither half on its own reveals the seed. Store the two parts in different physical locations: theft of one is useless without the other. Single-plate stamped steel (Cryptosteel, Billfodl) is still fire- and water-resistant and beats paper, but anyone who finds the plate reads the seed directly - use it only if a two-part system isn’t an option.
- Shamir / SLIP-39 splitting (M-of-N reconstruction) is great if you understand it, and a self-inflicted loss vector if you don’t. Loss of one piece doesn’t lose the seed; theft of one piece doesn’t grant access. Practice the recovery before you need it.
- MFA backup codes for high-value accounts (primary email, password manager, exchange) get the same treatment: print, fold, sealed envelope, offline location. Not in iCloud Notes, not in a screenshot.
- Test recovery once a year. Recover a small test wallet from your backups on an air-gapped machine. Confirm your MFA backup codes still work for the email you’d be locked out of.
Designing seed-phrase backup schemes, multi-sig ceremonies, and recovery procedures at scale - for founders running treasuries that justify it - is what our Web3 Operational Security engagement covers.
Conclusion
The defenses for what lives on your laptop are mechanical:
- Encrypt every disk and every backup. Laptop, Time Machine, NAS, external SSDs - with strong unique passwords and offline recovery keys. A backup drive in plaintext is putting a deadbolt on the front door while leaving the back gate open.
- Require a PIN at boot or cold start, not just at the lock screen. TPM-only BitLocker is bypassable; FileVault enforces this by default.
- Your daily account is not a local admin. Most malware needs elevation to do real damage - a Standard daily user catches the casual mistakes.
- Use separate browser profiles for distinct risk domains. For Web3 founders, the non-negotiable rule: cold signing never shares a profile with anything else.
- Audit browser extensions quarterly - every extension is a potential read-everything-you-see backdoor.
- Treat browser sync like primary email. A breached Google or Firefox account becomes a foothold on every machine signed in to it.
- Keep secrets out of consumer note apps and out of your camera roll - modern photo apps OCR every screenshot, indexed and searchable.
- Seed phrases and MFA backup codes live on paper or metal, in two locations. Test the recovery once a year, before you depend on it.
In the next part of this series, we’ll cover travel and untrusted networks - what changes when you cross borders, why public Wi-Fi is hostile infrastructure, what to do with charging stations and “found” USB drives, and how to prepare a clean device for high-risk routes.
Stay safe - and remember, the most valuable thing on your laptop isn’t the data on it. It’s the trusted session that the next person to unlock it inherits.
Author: Dmitry Slinkov